Invite people
An invitation is the only way to add a person to an organization. The person receives the invited tiers when they accept, not before.
Invite
Prerequisite: the Admin tier or higher on the organization.
- Open Organization members, Members tab.
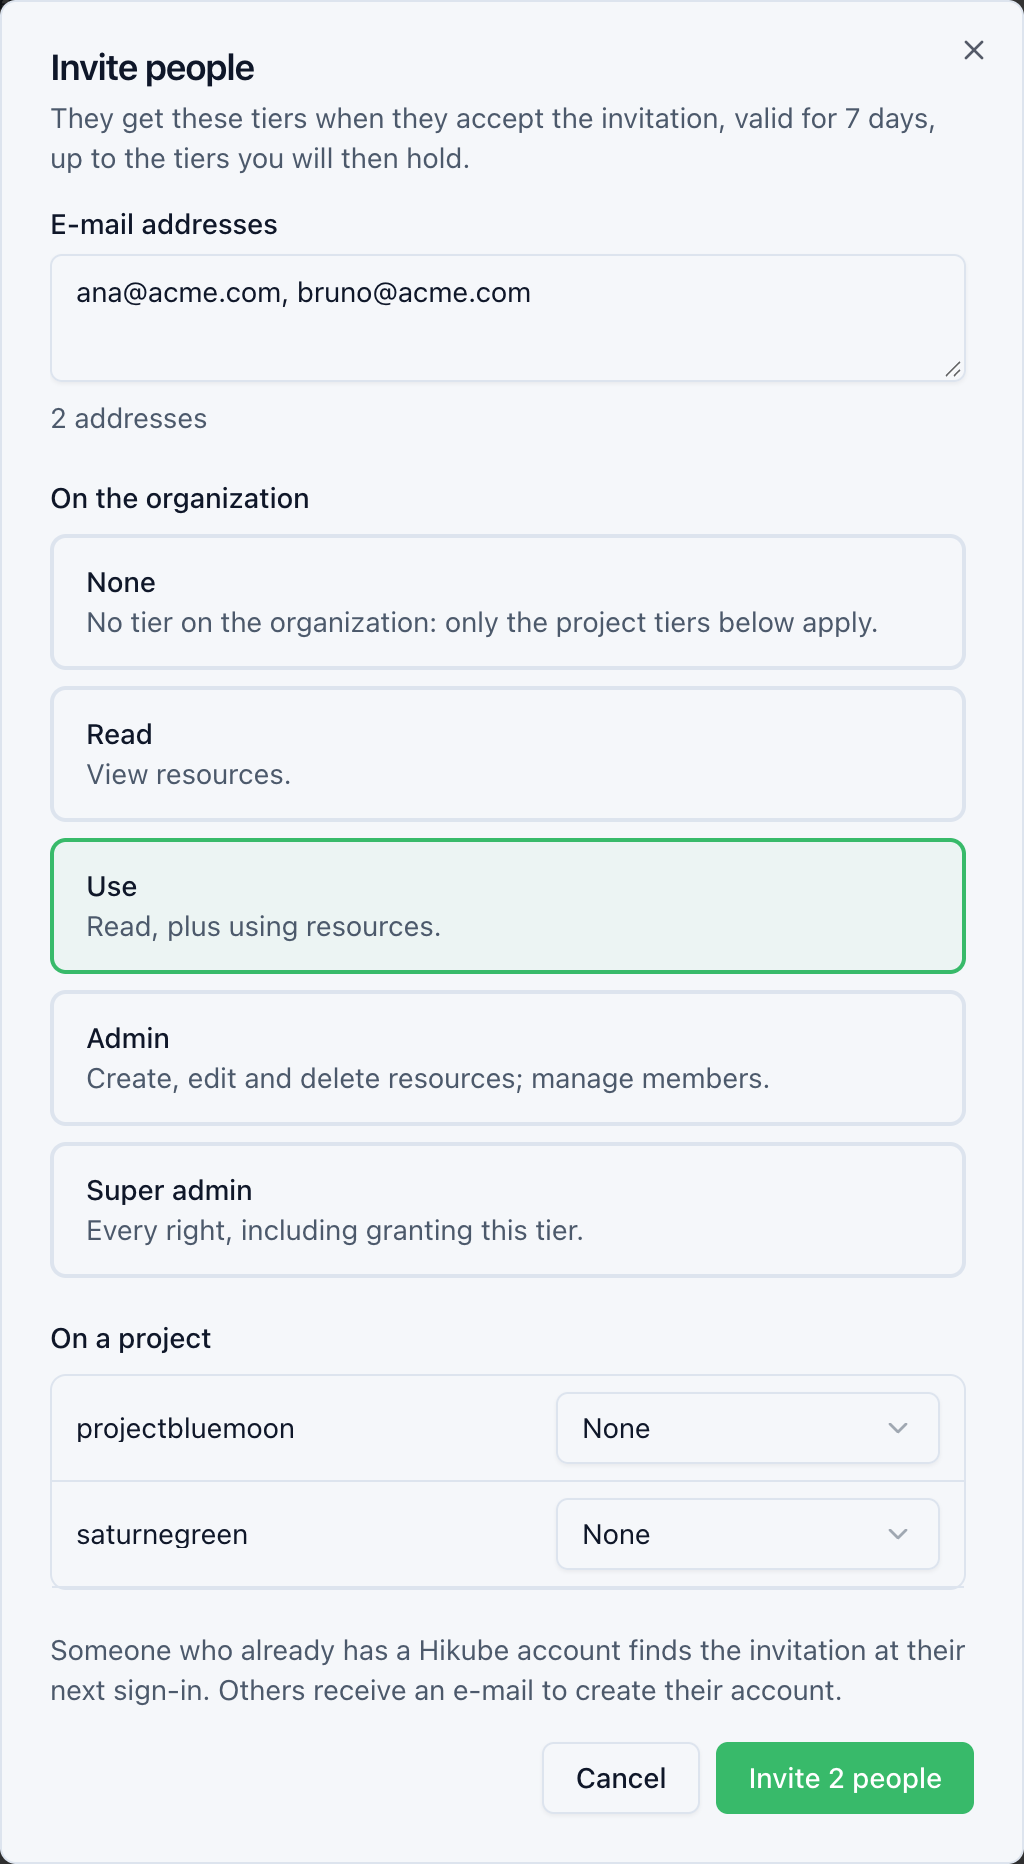
- In the Pending invitations card, click Invite people.
- E-mail addresses: for example
ana@acme.com, bruno@acme.com. Separate the addresses with commas or line breaks, 50 at most. - Choose the tiers, On the organization and/or On a project. At least one tier is mandatory, never above your own.
- Click Invite … people.
The invitation is valid for 7 days.
- The person already has a Hikube account: they do not receive an e-mail. They find the invitation at their next sign-in to the console.
- The person has no account: they receive an e-mail to create their account. There they verify their address, choose a password and register a second factor.
Inviting an address that already has a pending invitation again replaces the old one.
To invite to a single project, use Invite in the Project members card of the project settings (see Members of a project).
Track, resend or cancel
The Pending invitations card lists the E-mail, the Invited tiers and the Expires on date. An expired invitation has the Expired badge.
- Resend: sends the invitation again and extends it by 7 days.
- Cancel: click the cancel icon, then Cancel the invitation. It can no longer be accepted. You can invite this address again.
On acceptance, each invited tier is capped at the tier the author of the invitation then holds. If the author has lost their tier in the meantime, that tier is not granted.
Limits
An organization has a maximum number of members, of pending invitations and of invitations sent per hour (a resend counts). Beyond that, the console shows a message: remove a member, cancel invitations or try again later. To raise a limit, contact support.
Answer an invitation
- Sign in to the console.
- A badge appears on Invitations, in your profile menu. Click it.
- Each invitation shows the Organization, its author (Sent by …), the Invited tiers and its expiry date.
- Click Accept, or Decline then Decline the invitation.
After Accept, your access shows up within a few minutes; refresh the page then. A declined invitation can no longer be accepted: you will need to receive a new one.
The invitation is tied to your verified e-mail address. Sign in with the account of the invited address.
An invitation that grants Super admin can only be accepted with an account that has a password and a second factor, not linked to an identity provider. Register your second factor first. The invitation stays pending until then.
External members
You can invite a person who already has an account, including an account that belongs to another organization. They become an external member: they keep their account, their credentials and their access elsewhere. You can only grant and remove their access in your organization.
An account that belongs to an organization (organization account or SSO account) cannot, by default, join another organization. If it accepts your invitation, Hikube answers that its organization does not allow it. On your side, the invitation stays pending until it expires.
The owning organization can allow external collaboration. This setting is not in the console yet: its super admin contacts support. Personal accounts are never restricted.
Invitation and SSO connection
If your SSO connection has the Invitation required option, inviting an address of an allowed domain immediately creates its SSO account, without an e-mail. See Manage the SSO connection.